
Burning of the graphic on the screen to a screen print is the stage where the graphic you designed or drew becomes a stencil through which we will print the shirt.
This is also the stage up to which you can make changes to the graphics – after the exposure Mash itself becomes a stencil that will be used to transfer the ink to the shirt and any change to the graphics will require you to create a new screen (and of course pay for it…).
So how is the screen projection performed?
The exposure is the projection of light onto the mesh or the exposure of the mesh to light, in order to create a fixation of the emulsion applied to it (the emulsion hardens with exposure to light), during the projection, the film on which the graphics are printed is attached so that the emulsion under the printed parts is not exposed to light, they remain soft and therefore it is also possible Wash them after exposure.
The parts that will not be exposed to light will be the parts through which the ink will pass (if we compare the process to creating a stencil cut from paper – the parts that we will cut are the parts that are not exposed to light).
The exposure process has several stages:
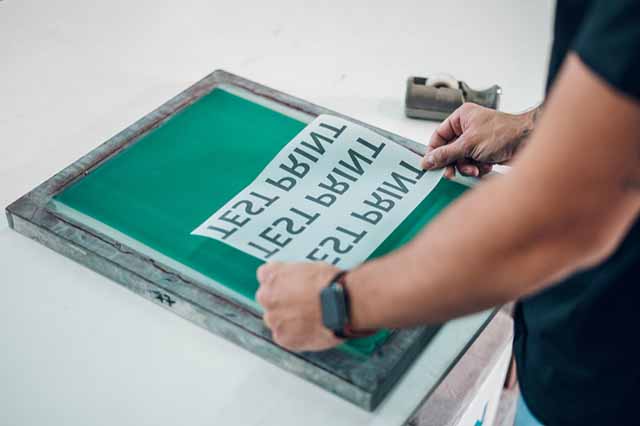
– The film must be put on top of the screen – you need to make sure that it is attached in a way that will not allow it to move.
– Projection or light exposure of the screen to which the film is attached (the film is between the screen and the light source).
– Removing the film and cleaning the parts that were not exposed to light by a strong stream of water.
What do you use to burn a screen?
The exposure process is carried out by a light source of several types. It is important to remember that what creates the fixation of the emulsion is the ultraviolet light (UV) and therefore it is necessary to use lamps capable of providing as much light of this type as possible. Alternatively, you can use lamps that provide less UV light but then more lamps or more exposure time to light will be needed.
1. Sun: leaving the screen in sunlight for a while. This method is not particularly accurate and it is necessary to study and make mistakes in order to understand what is the correct length of time for exposure. This method is mainly done by those who want to screen print shirts at home.
2. UV lamp: installation of a lamp that produces UV light (ultraviolet light) above the screen.
3. Fluorescent or halogen lamp: lamps of this type provide a little UV light, but since they are relatively cheap and provide stable light, they are often used to expose screens.
4. Light projector: The printing houses mainly use a light projector that hermetically adheres the printed graphic to the grid by air pressure and then turning on lamps with a strong power to expose the emulsion to light. In this way the film on which the graphic is printed does not move and the results are the best.
