So, the screen printing process is probably the most complex of all the methods for printing clothing, and the printing step itself is only one of the last steps in the process. We will divide the process into stages:
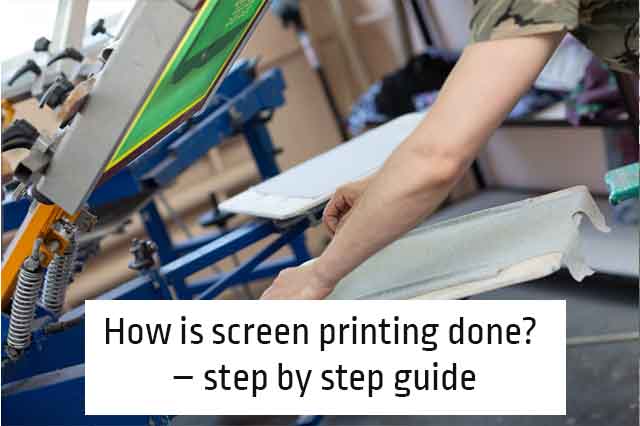
how is screen printing done – the guide :
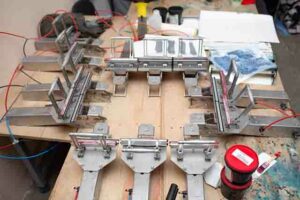
1. Stretching the mesh:
stretching the mesh on the wooden/metal frame so that we can use it for printing. Most printing houses have a ready stock of tensioned webs.
2. Applying the mesh with emulsion:
today we do not use wax to seal the mesh but with. The emulsion is actually a light-sensitive material that comes in liquid form (the same material that was used in camera films once). The emulsion is spread uniformly on the mesh and allowed to dry in the dark, a process that takes between 12-24 hours.
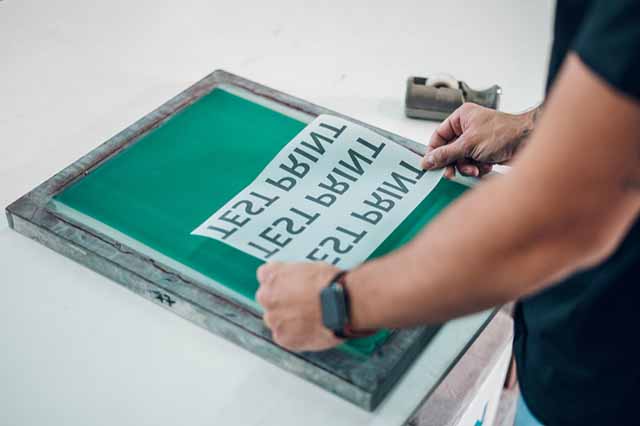
3. Creating a film:
the graphics you sent to the printing house are taken and printed on a transparent FILM. Since the quality of the FILM printing is critical to the next step, it is necessary to make sure that the graphics are printed well and sealed.
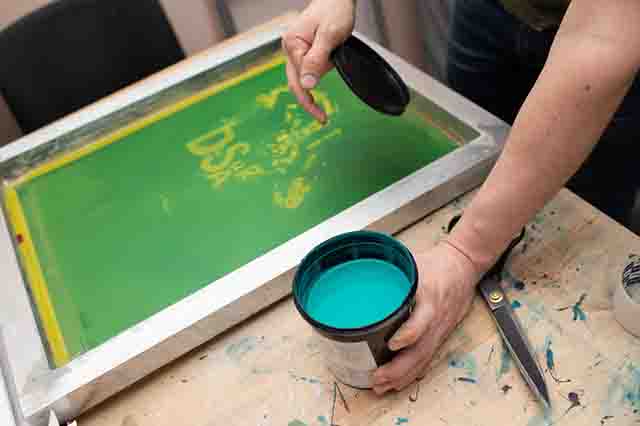
4. Screening:
after the emulsion stabilizes and dries comes the stage to create the stencil itself: you take the stretched mesh and attach the FILM with the graphic to it and then expose the mesh to the light using a projector or light table (when the slide is in the part facing the light).
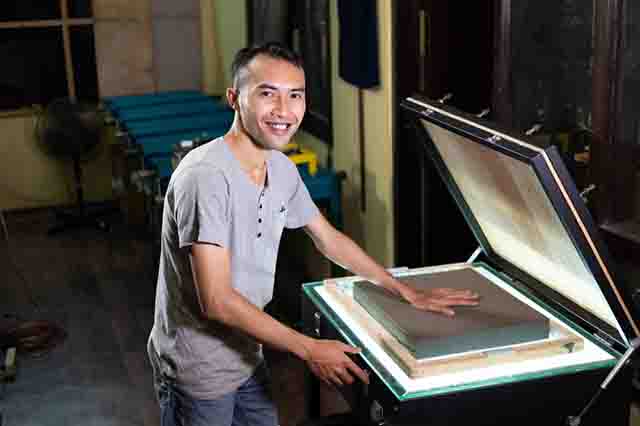
The results from the exposure process is that the areas where the emulsion was exposed to light hardens and sets, while in the areas that were under the printed slide (and therefore not exposed to light), where the emulsion does not set and remains soft.
These areas will be the places through which the ink will pass onto the shirt. The mesh is transferred to a washing device and there, with water, all the parts where the emulsion did not harden are cleaned, and now we have the stencil for printing.
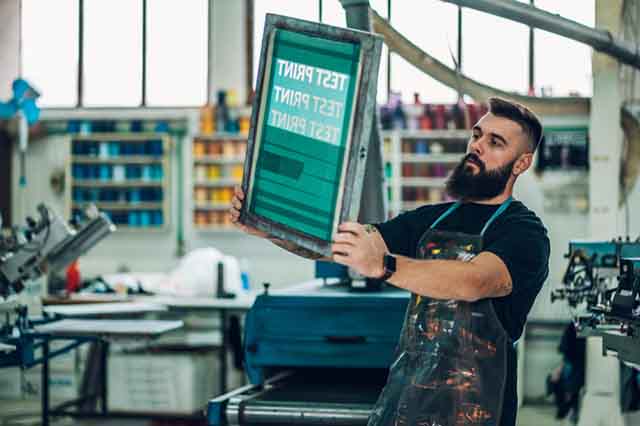
5. Printing:
after the stencil is ready, assemble the screen on top of the printing device.
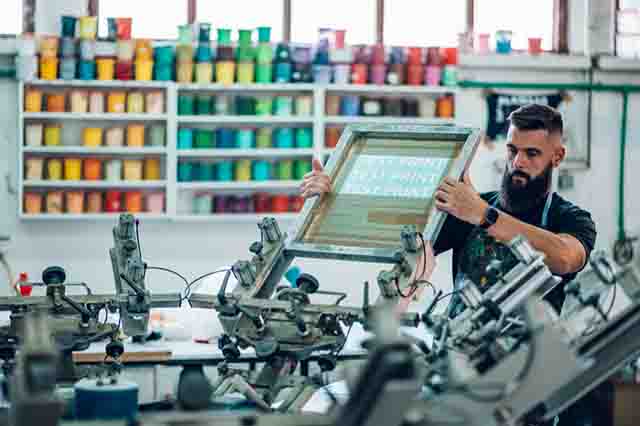
The printing device can be a manual device where the printer himself transfers the color through the mesh to the fabric or an automatic printing machine where the color transfer is done by the machine and the operator only changes the shirts.
Most often the printing device is called a carousel because they are built of several arms on a pivot that rotate in a circular fashion.
It is important to note that each grid is used to transfer only one color (so if the graphic consists of three colors – three envelopes are needed).
6. Drying:
after printing, the printed shirts go to a drying oven which dries and fixes the color on the garment.
The oven is made up of a heating element and a conveyor belt that moves the shirts under the heating element (imagine a pita oven…).
Drying is a critical step in the process because without proper drying the ink will not set on the shirt.
Summary:
Screen printing is done in a process of steps starting with the creation of the screen itself, then printing through the screen and then drying and fixing the color on the garment using heat.
