In this article we will review a special type of heat transfer vinyl – printable vinyl.
Printable vinyl (HTV) is a type of vinyl that can be printed on using desktop inkjet and then applied to a variety of fabrics using a heat press. It allows the creation of custom designs and graphics that can be transferred onto clothing, bags, hats and other items.
HTV for printing comes in two types, each designed for a specific type of ink:
HTV for inkjet printing:
This type of HTV is designed for use with an inkjet printer. It has a special coating that allows the ink from the printer to be absorbed by the vinyl, resulting in vibrant and long-lasting prints. The printer you print through is usually a wide format printer that uses solvent or eco solvent ink. In addition, you can print on it with a printer that uses latex technology. The use of this type of ink is due to the durability of the ink (this is the type of ink used for printing on outdoor signage) which allows it to withstand many washing cycles.
HTV for sublimation printing:
This type of HTV is specially designed for use with sublimation printing. It has a special coating that is activated by the heat and pressure of a heat press, resulting in a vivid and durable print that becomes part of the fabric. The print itself is produced by a sublimation printer on a special sheet of paper and then the sheet is attached to HTV at high heat which allows the transfer of the sublimation ink from the sheet to the vinyl.
Differences in use between HTV for cutting and Printable HTV:
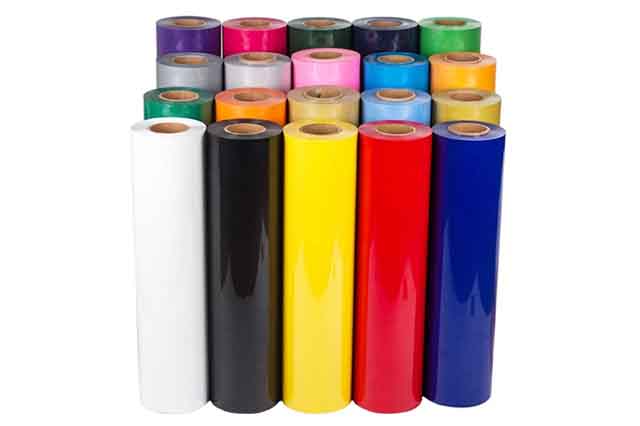
The main difference is that HTV for printing comes in white – this is the base color on which we print, while HTV for cutting comes already painted in the required color.
A second difference is that HTV for printing arrives when the side containing the glue is adjacent to the carrier, and this is because printing is done on the outside. On the other hand, in HTV for cutting the side of the glue is not attached to the carrier so that it can be attached to the fabric.
When using HTV for printing, after cutting with the cutting plotter, peel off the residue and then lift the print from the carrier using heat-resistant appliqué paper and attach the print to the garment.
It is important to note that using an HTV type that is not suitable for printing may result in the print being erased from the vinyl.
Steps of printing vinyl for heat printing:
- The first step is of course the graphics: creating the graphics for Printable vinyl requires creating a cutting line in the graphics file. The cutting line is made around the graphic and marks the cutting boundaries for the cutting plotter. You have to pay attention to the fact that there are no details left that were not marked in the graphic because they will not be cut. And in addition, you should note that it is better for the print to cut as a unit – this makes it easier to peel and stick the vinyl.
- Second step: printing and cutting. Some points that need to be verified when sending graphics for printing are – using an appropriate color profile, creating cutting marks that the cutting plotter can read, letting the paint dry on the vinyl for at least 12 hours (or according to the manufacturer’s instructions).
- In the cutting phase you have to make sure that the cutting knife is aimed at the right pressure and at the right angle, it is better to let the plotter cut to the first part of the graphic and then pause and make sure that the cut is accurate around the graphic and of course make sure that the vinyl is cut completely and cleanly.
- The peeling step: after cutting, peel off the remaining vinyl that is not part of the requested print. It is important to pay attention – especially when there are small details, that parts of the graphics do not peel off. Some people prefer to put the adhesive foil on the print and then peel off the remaining vinyl. Working in this way makes it easier when there are small details in the graphics, but you have to notice that we don’t see the printed part when peeling with this method.
- Coating with appliqué film: the graphic that needs to be transferred to the garment must be covered with appliqué film – this is a heat-resistant adhesive film that allows you to pick up the printed material and place it on top of the shirt. We need this because on this type of vinyl the carrier is on the side where the adhesive is.
- Heat gluing: using a heat press press the vinyl onto the fabric. The heat loosens the glue and allows the vinyl to be attached to the fabric.
Printing on vinyl with eco-solvent ink:
Most prints on printable vinyl are done with wide format printers and eco-solvent inks. These printers allow printing on a larger media area than a home printer, and most of the printing is done on a 60 or 72 cm wide roll.
What is eco-solvent ink?
Eco-Solvent ink is a type of ink used in wide format digital printers. It is called “eco-solvent” because the solvents used in the ink are less harmful to the environment than those used in traditional solvent inks. These inks are made with milder solvents such as glycol ethers, which evaporate faster and have a lower potential for VOC (volatile organic compound) emissions.
Eco-solvent ink provides a good balance between quality, durability and versatility. They are suitable for printing on a wide range of media, including vinyl, banner, film, canvas and paper. They can produce high-quality images with a wide color gamut, and are resistant to fading, water and UV light.
One of the main advantages of eco-solvent inks is that they are less flammable and less odorous than traditional solvent inks. This makes them safer to use in commercial and industrial settings and allows for easier handling. They also produce less VOC emissions, making them a more environmentally friendly option.
Table of Contents
